Stitch images together online

Add 2 to 9 photos, pick a layout and download them as one image. It all runs in your browser, so your files are never uploaded.

FreeNo sign-upNo watermark
Image stitcherFiles stay on your device

1. Add images 0/9

Need images?

2. Choose a layout

Preview

Add images to preview

Nothing here yet

Add 2 to 9 images, or drop them anywhere in this editor.

3. Export

Add at least 2 images to start. No account, no credits, no watermark.

Images are processed locally. GIFs become still images. Large inputs are resized to a 2400 px longest edge for browser memory.

What people use it for

Usually it is one of a few things: two versions of a design next to each other, a before and after, a set of product shots, or some trip photos you would rather send as one picture than five.

You can switch layouts at any time without adding your files again, so try a row, a column and a grid and keep the one that looks right.

Open the editor
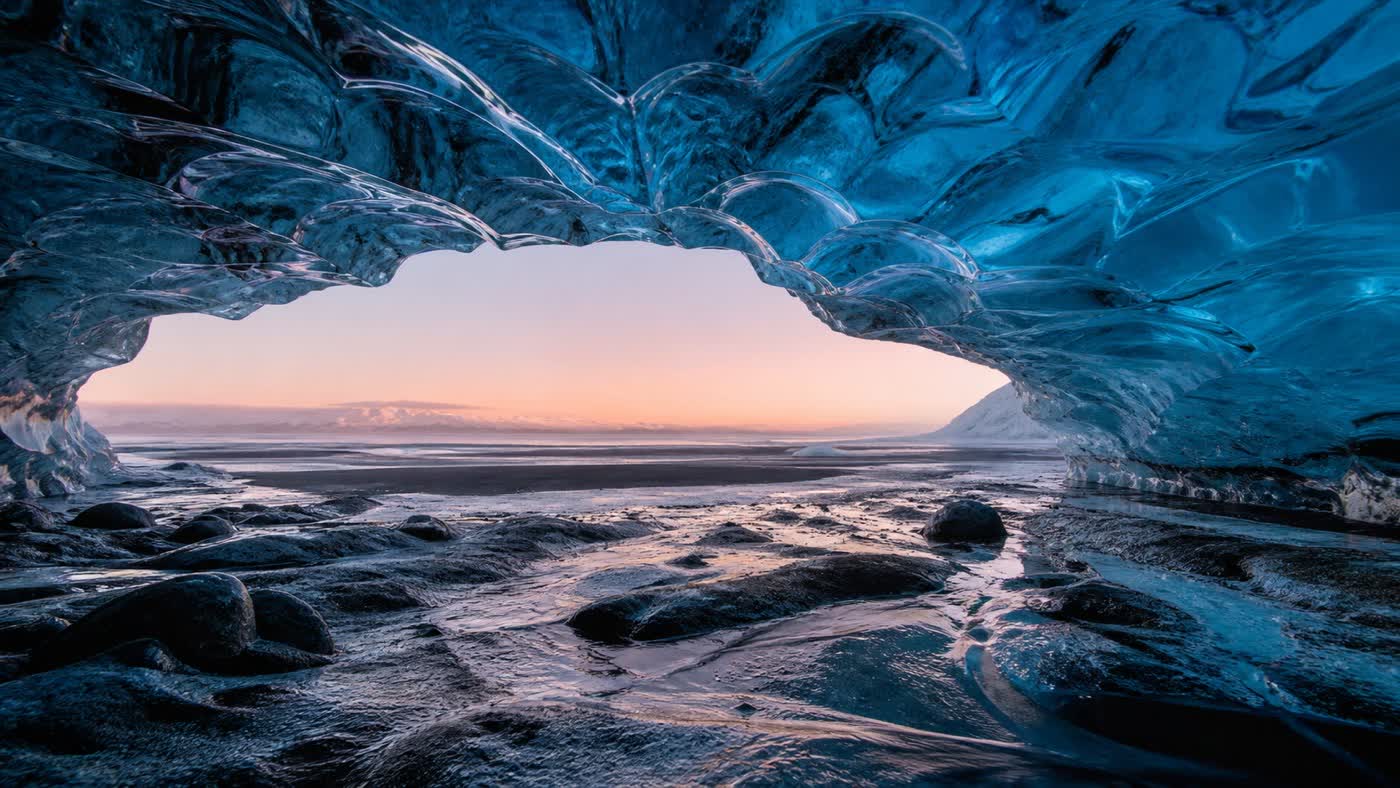
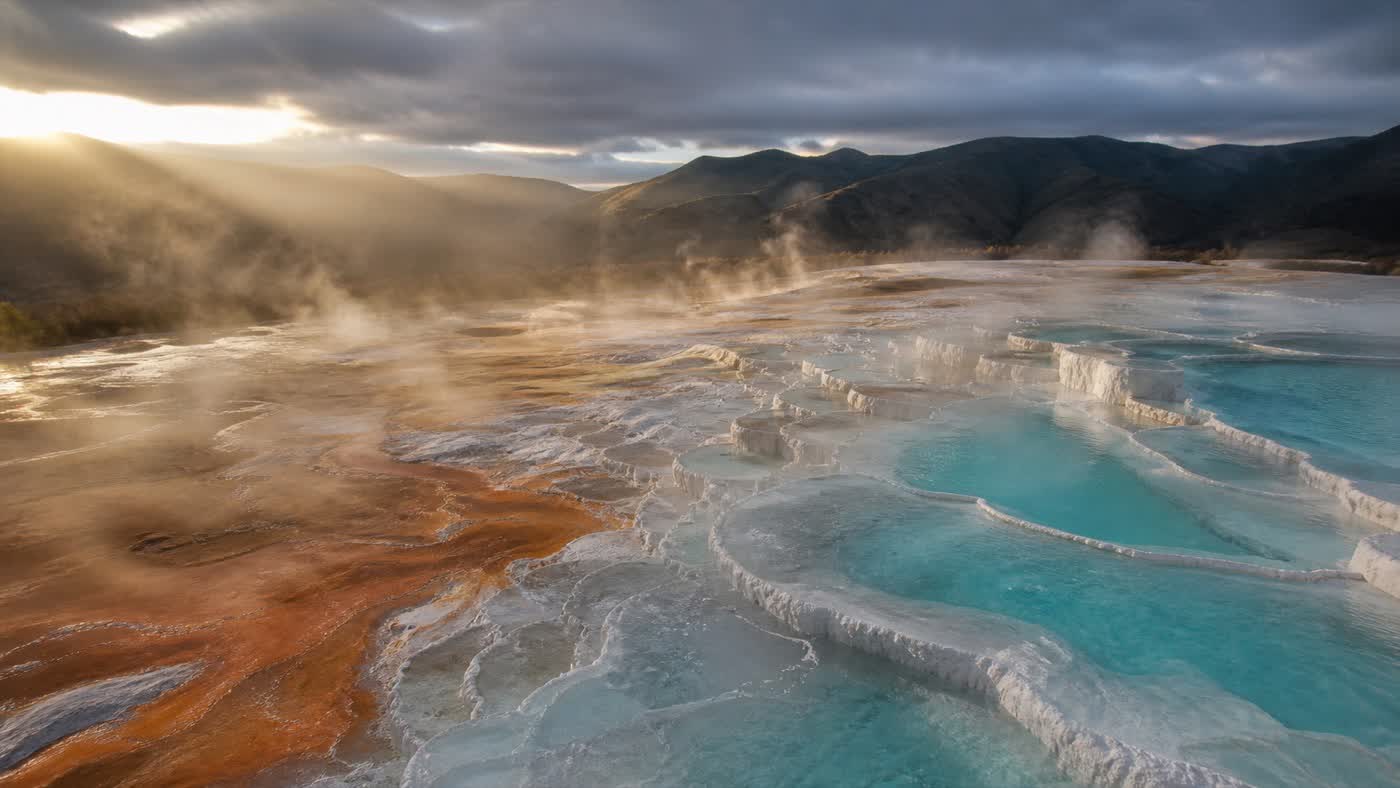
Blue ice cave opening onto a pale sunset, an AI-generated sampleTurquoise geothermal terraces in warm evening light, an AI-generated sample
The two sample images stacked top to bottom. Both are AI-generated. Click Try sample images in the editor to load the same pair.

How to stitch images online

  1. 01

    Add your photos

    Click the upload box or drag files onto the editor. You can mix portrait, landscape and square photos. Change the order with the arrows, or drag the rows on a computer.

  2. 02

    Pick a layout

    Choose side by side, top to bottom, grid or featured, then an aspect ratio. Set the spacing and background color. Click a panel in the preview to zoom in on that photo or move it.

  3. 03

    Download

    Choose PNG or JPG and a size, then click Stitch images. On a phone, Download usually opens the share menu so you can save to Photos. Your original files are not changed.

Which layout to use

It mostly depends on where the image is going and what people need to see in it.

Side by side

Good for comparing two or three things, like design options, product colors, or an edit next to the original. Leave a small gap so it is clear where one photo ends. For a before and after, keep both photos at the same zoom, otherwise one will look bigger than it really is.

Top to bottom

Puts photos in a single column. It works well for landscape shots and for screenshots people should read in order. A 9:16 frame fits a phone screen. If your screenshots have text near the edges, use Keep whole so nothing gets cut off.

Grid

For four or more photos. Choose 2, 3 or 4 columns. If the last row is not full, its photos get wider to fill the space. 1:1 suits a mood board, and 16:9 fits a slide.

Featured

The first photo gets a large panel on the left and the others sit next to it. Move your best shot to the top of the list. This works for a product with a few close-ups, or a small portfolio.

Files stay on your device

The images are combined in your browser. Nothing is uploaded and you do not need an account. It also means nothing is saved, so download before you close the tab.

Crop or keep the whole photo

Keep whole fits each photo inside its panel and fills the gaps with your background color. Fill & crop fills the panel and trims the edges. Move photos by dragging, with the sliders, or with the arrow keys.

PNG or JPG, up to 4096 px

PNG keeps full quality but gives you a bigger file. JPG is smaller and is usually fine for sending in a chat or posting online.

Before you share it

Make sure small details are still readable

A collage that looks fine in the editor can be hard to read once someone opens it on a phone. Look at the downloaded file at about the size people will see it. If labels, captions or faces are too small, use fewer photos or split them into two images. A bigger export size adds pixels, but it does not make a crowded layout easier to read.

For screenshots, start with Keep whole and check the first and last lines of text. Add a little spacing so separate screens do not run together. Stack screenshots top to bottom when they show steps in order, and put them side by side when people need to compare the same spot on each.

Open the file before you send it

Check the order, the edges between panels, and anything cropped close to your subject. In a product comparison, make sure one item does not look larger only because you zoomed in more on its panel.

The download is one flat image, so the panels cannot be moved later. Keep your original photos. If you want a different crop or layout, change it in the editor while the photos are still loaded and export again.

Image stitch FAQ

Formats, privacy, quality and layouts.

How do I stitch two images together?

Add two images and choose Side by side or Top to bottom. Pick Keep whole if you want to see the full photos, or Fill & crop if you want each panel filled edge to edge. Then click Stitch images and Download.

Is the image stitcher free, and does it add a watermark?

Yes, it is free. You do not need an account, it does not use credits, and there is no watermark. The numbers on the panels in the editor are only there to help you find each photo; they are not in the downloaded file.

Are my pictures uploaded to a server?

No. The images are combined in your browser and are never sent to Froging AI or to an AI model. Nothing is saved to your account either, so download the result before you refresh or leave the page.

Which image formats and file sizes can I use?

JPG, PNG, WebP and GIF, from 2 to 9 files, each up to 20 MB and 40 megapixels. Animated GIFs are saved as a still image. HEIC and SVG are not supported, so convert those to JPG or PNG first. Images larger than 2400 px on the long side are scaled down when you add them so the browser does not run out of memory.

Will stitching reduce image quality?

Resizing and cropping can lose some detail. You can export at 1200, 2400 or 4096 px on the long side. PNG adds no compression, and JPG compresses the file to make it smaller. Exporting at a larger size will not add detail that a small photo did not have.

Can I stitch images on my phone?

Yes. Open this page in your phone browser and pick photos from your library. Tap a panel to select it, then drag it or use the sliders to move it. The up and down arrows change the order. On iPhone and Android, Download usually opens the share menu, so you can save the image to Photos or send it straight away.

How do I avoid cropping my photos?

Choose Keep whole and leave zoom at 100%. Each photo then fits inside its panel, and any empty space shows your background color. Fill & crop leaves no empty space but can cut off the edges. Drag the photo or use the sliders to choose what stays in view.

Is this a panorama stitcher or an AI image combiner?

Neither. It places separate photos next to each other. It will not line up overlapping panorama shots, blend the seams, or merge several photos into a new scene. If you want to change what is in a photo, use an AI image editor instead.

Need an image first?

Make one with the AI image generator, or change an existing photo with the AI image editor. Download the results and add them to the stitcher.

Back to the editor